Now Reading: Sanding and Painting Techniques for Vintage Cars
-
01
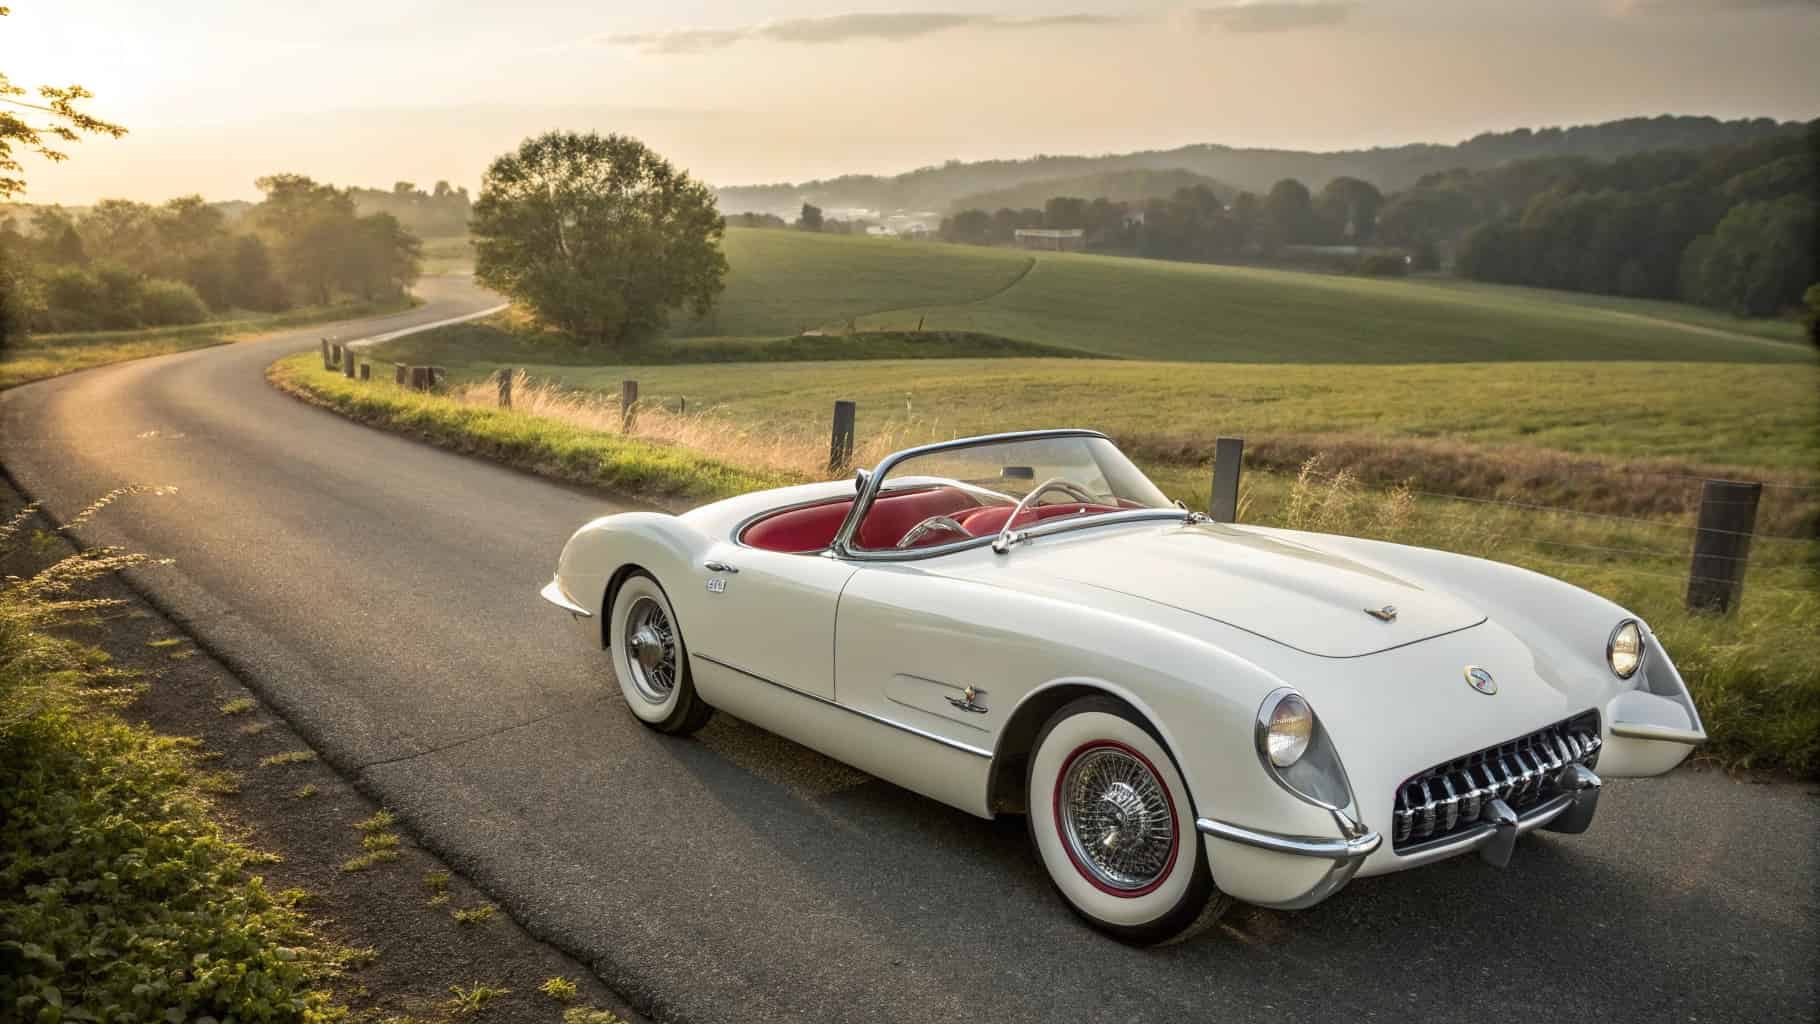
Sanding and Painting Techniques for Vintage Cars

Restoring classic vehicles requires skill, patience, and attention to detail—especially when it comes to sanding and painting techniques for vintage cars. These two processes are the foundation of any successful restoration project. Proper sanding removes old paint, rust, and surface imperfections, while painting adds not only aesthetic value but also vital protection against the elements. Whether you’re aiming for showroom quality or simply want your car to turn heads on the road, mastering these techniques is essential.
In this guide, we’ll walk you through every stage of the sanding and painting process, from surface preparation to applying the final polish. You’ll learn how to choose the right tools, avoid common mistakes, and achieve a finish that brings out the true beauty of your vintage car. Whether you’re a first-time restorer or a seasoned enthusiast, these tips and best practices will help you restore your classic ride with confidence.
Understanding the Basics of Sanding and Painting Vintage Cars
Why Sanding and Painting Matter in Classic Car Restoration
When it comes to restoring vintage cars, few steps are more critical than sanding and painting. Sanding removes rust, old paint, and surface imperfections, laying the groundwork for a flawless finish. Painting not only adds aesthetic appeal but also protects your vehicle from weather, corrosion, and wear. Done correctly, these two steps can significantly extend your classic car’s life and value.
Common Mistakes to Avoid When Sanding and Painting Vintage Cars
Even passionate restorers make avoidable mistakes. Here are common pitfalls that can sabotage your project:
- Skipping the Primer: Primer promotes adhesion and prevents peeling.
- Using the Wrong Grit Sandpaper: Too coarse? You risk damaging the surface. Too fine? You won’t remove flaws effectively.
- Painting in a Dusty Environment: Dust ruins fresh paint. Always paint in a clean, controlled space.
Avoiding these mistakes will save time, money, and frustration.
Preparing the Surface for Sanding and Painting Vintage Cars

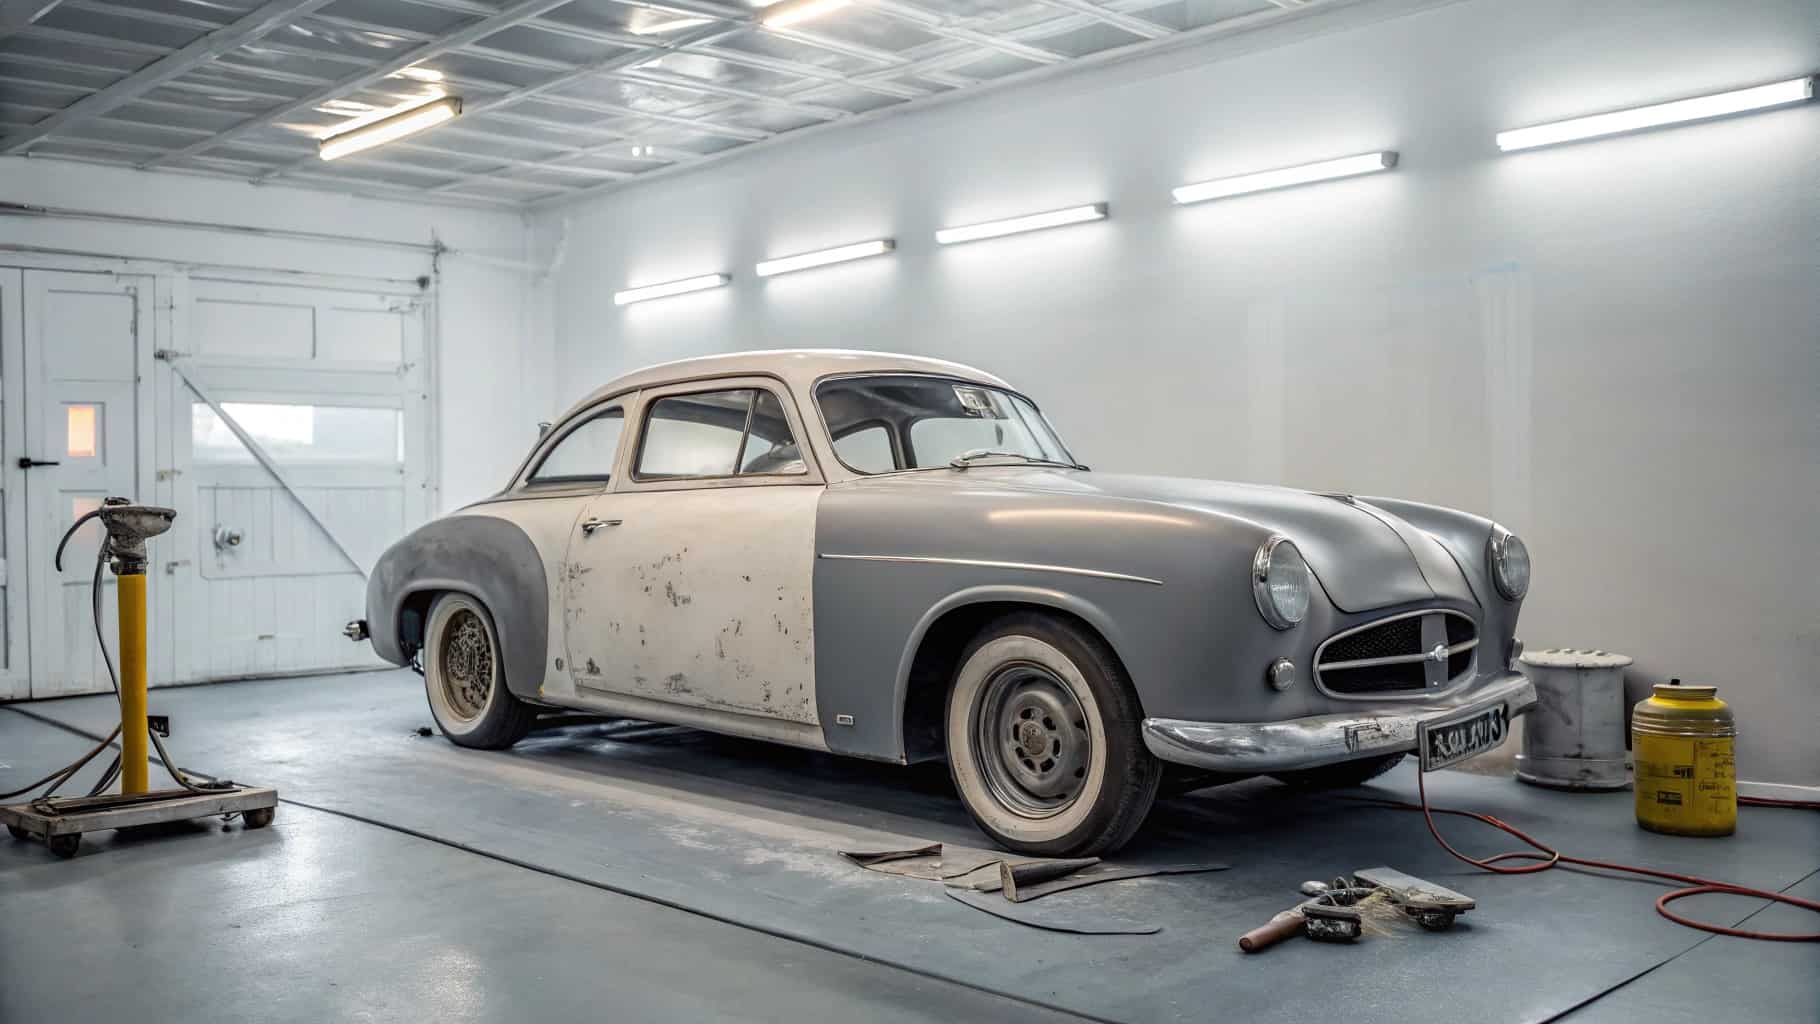
Step 1: Removing Old Paint and Rust
Start with either a chemical paint stripper, heat gun, or a sander to remove paint layers. Use a wire brush or rust remover to eliminate corrosion. This ensures the new paint adheres properly and doesn’t peel over time.
Step 2: Testing Paint Compatibility
Before committing, apply a small amount of your new paint to a hidden area. Bubbling or peeling means incompatibility—remove more of the old paint or choose a better-suited product.
Step 3: Cleaning and Degreasing the Surface
Use a dedicated degreaser to clean the car’s surface. Remove all residues, oils, and dust. Rinse with clean water and let it dry thoroughly before sanding.
Choosing the Best Sandpaper for Vintage Car Surfaces
Understanding Grit Levels for Classic Car Restoration
Sandpaper grit is everything in auto restoration:
- 80–120 grit: Great for stripping paint and rust
- 220–400 grit: Perfect for smoothing primer
- 600–2000 grit: Ideal for finish work and polishing
Start coarse, finish fine—this approach guarantees a professional finish.
Wet vs. Dry Sanding Techniques
- Wet Sanding: Reduces dust, cools the surface, and gives a finer finish. Ideal for later stages.
- Dry Sanding: Faster material removal. Use in early sanding phases.
Top Sandpaper Brands for Vintage Car Projects
Choose reputable brands like 3M, Mirka, and Norton. High-quality sandpaper lasts longer, sands more evenly, and reduces frustration.
Applying Primer: Foundation for Painting Vintage Cars
Types of Primers for Vintage Cars
Choosing the right primer is vital:
- Epoxy Primer: Great for rust protection and metal bonding
- Urethane Primer: High-build and easy to sand
- Self-Etching Primer: Acid-based for bare metal adhesion
Best Practices for Primer Application
- Spray Gun Settings: Test before applying
- Cross-Hatch Technique: Horizontal then vertical passes for even coverage
- Distance Matters: Keep 12–18 inches from the surface
Fixing Common Primer Problems
- Orange Peel: Caused by incorrect spray distance or mixture
- Runs: Too much primer. Sand and reapply thinner coats
- Poor Adhesion: Likely due to improper cleaning. Degrease properly.
Mastering the Art of Painting Vintage Cars

How to Choose the Right Paint for Your Classic Car
Consider:
- Original color codes for authenticity
- Custom finishes like metallic or pearlescent
- Compatibility with primer and clear coats
Pro tip: Always test on a small area first.
Spray Painting Techniques for a Professional Look
- Practice on scrap panels
- Use even strokes and overlap by 50%
- Apply multiple thin coats instead of one thick layer
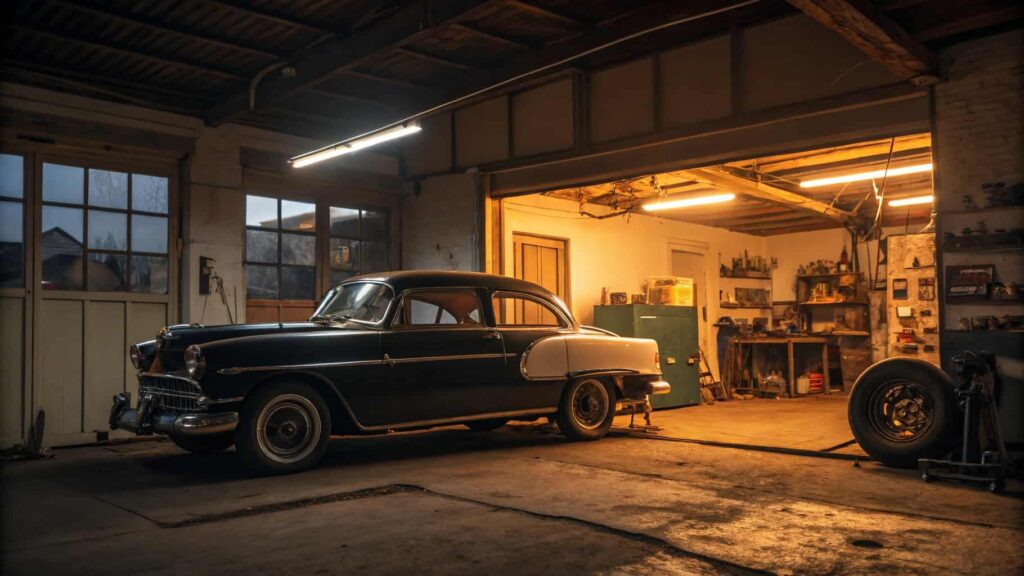
Keeping Dust and Imperfections Out of Your Paint
- Work indoors in a well-ventilated, dust-free area
- Wear clean, lint-free clothing
- Let each coat fully dry before the next application
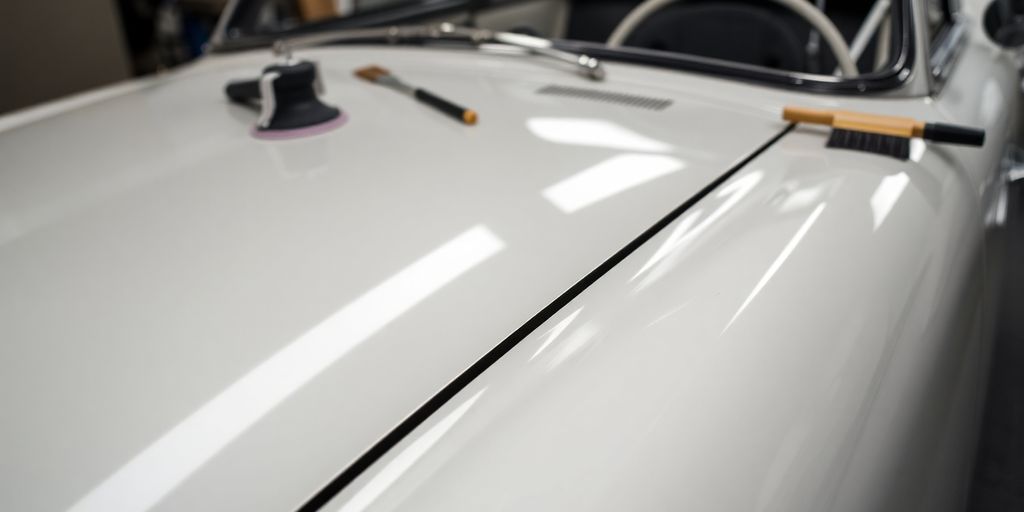
Buffing and Polishing for a Showroom Shine
Choosing the Right Buffing Tools
- Rotary buffer with variable speed
- Pad types:
- Wool (heavy cut)
- Foam (polishing)
- Soft foam (final glaze)
Step-by-Step Polishing Process
- Heavy Compound: Removes scratches (wool pad)
- Medium Polish: Refines surface (foam pad)
- Glazing Polish: Creates mirror finish (soft foam)
Wipe clean between steps to prevent contamination.
Maintaining the Gloss After Painting
- Wax every 3–4 months
- Use pH-balanced car wash soaps
- Avoid UV exposure and bird droppings
Protecting and Maintaining Vintage Car Paintwork
Regular Cleaning and Waxing
- Use soft microfiber cloths
- Always dry your car after washing
- Reapply wax periodically for continued protection
Fixing Scratches and Paint Chips
- Use scratch removers for light damage
- For deep chips, touch-up kits matched to your paint code work best
Long-Term Paint Protection
- Invest in ceramic coating or paint protection film
- Store indoors or use a quality car cover
- Avoid parking under trees or in salty environments
Advanced Sanding and Painting Techniques for Enthusiasts
Using Epoxy Resin Primers for Vintage Cars
These primers offer:
- Superior rust protection
- Excellent metal bonding
- Long-term durability
Apply on clean, bare metal using a high-quality spray gun.
Sandblasting: A Deeper Clean
Perfect for removing deep rust and old paint. Use proper PSI settings and protect surrounding areas. Always follow up with a primer immediately after blasting.
Custom Paint Jobs and Special Finishes
- Explore matte, satin, or metallic finishes
- Use a clear coat to lock in shine and protect from UV rays
- Always work in a temperature-controlled, dust-free environment
Safety Best Practices for Sanding and Painting Vintage Cars
Essential Protective Gear
- Respirator mask for dust and fumes
- Goggles to protect eyes
- Gloves and coveralls for chemical safety
Safe Paint and Solvent Handling
- Read labels and safety instructions
- Work in ventilated areas
- Store products away from heat or flame
Creating a Safe, Dust-Free Workspace
- Use air filters, dust sheets, and anti-static wipes
- Keep your tools and workspace meticulously clean
- Avoid cross-contamination with other materials
Final Takeaway
Restoring a vintage car with proper sanding and painting techniques is more than just a job—it’s an art. With careful surface preparation, the right materials, and attention to detail, your classic car can look like it just rolled off the showroom floor. Take your time, avoid shortcuts, and enjoy the process. The results are worth it.
Frequently Asked Questions
Not always. If the existing paint is in good condition (no flaking or rust), you can scuff-sand it to create a rough surface for the new paint to adhere. However, if the paint is damaged or peeling, full removal is recommended.
Start with 220–320 grit for initial sanding. Use finer grits like 600–800 for smoothing the surface before priming and painting. Always finish with a finer grit for best results.
It’s not recommended. Primer helps new paint bond properly and prevents peeling. Skipping primer can result in uneven coverage and poor durability.
Use a tack cloth or microfiber towel after blowing off dust with compressed air. Then wipe the surface with a wax and grease remover to ensure it’s clean.
Only if the existing paint is cracked, peeling, or has incompatible layers. In most cases, sanding down to a smooth, dull finish is enough.
No. Without sanding, the new paint won’t adhere well and will likely peel or bubble. Always sand to create a good surface for bonding.
Related Posts

Stay Informed With the Latest & Most Important News
Previous Post
Next Post


Advertisement